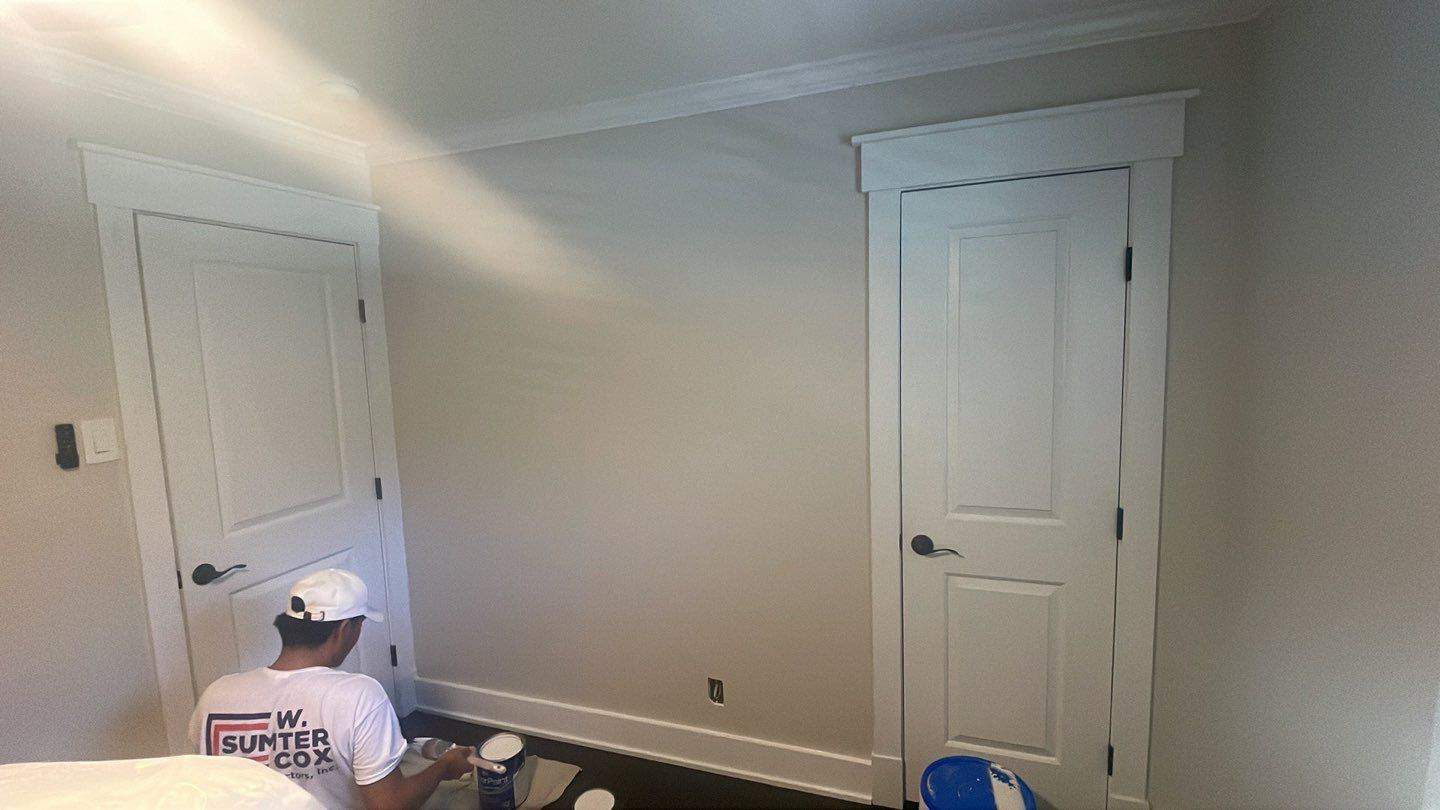
Embarking on a DIY interior painting project can be an exciting endeavor, offering the opportunity to refresh and revitalize your living space while expressing your creativity. While painting may seem straightforward, there are several tips and techniques that can help ensure a successful outcome. In this blog, we’ll explore eight essential DIY interior painting tips for residential interior painting projects, from preparation to finishing touches.
1. Prepare the Room Properly
Proper preparation is key to achieving a professional-looking paint job. Begin by removing furniture from the room or covering it with plastic sheeting to protect it from paint splatters. Remove any hardware, such as switch plates and outlet covers, and use painter’s tape to mask off trim, baseboards, and other areas you want to protect from paint.
2. Clean and Repair Surfaces
Before painting, it’s essential to clean the surfaces thoroughly to remove dirt, dust, and grease that can affect paint adhesion. Use a mild detergent and water solution to wash the walls, then rinse with clean water and allow them to dry completely. Inspect the walls for any cracks, holes, or imperfections and fill them with spackling compound or patching compound. Sand the patched areas smooth once dry to create a seamless surface for painting.
3. Choose the Right Paint and Tools
Selecting the right paint and tools can make a significant difference in the outcome of your painting project. Choose high-quality interior paint in the desired color and finish for your space. Consider factors such as the room’s lighting, decor, and usage when selecting paint colors and finishes. Invest in high-quality brushes, rollers, and paint trays for smooth and even application. Additionally, consider using painter’s tape, drop cloths, and paint edgers to help achieve clean lines and protect surfaces.
4. Prime the Surfaces
Priming the surfaces before painting can help improve paint adhesion, hide imperfections, and ensure consistent color coverage. Use a high-quality primer suitable for the type of surface you’re painting, whether it’s drywall, wood, or previously painted walls. Apply the primer evenly with a brush or roller, working in small sections and overlapping each stroke slightly for uniform coverage. Allow the primer to dry completely before applying the paint.
5. Use Proper Painting Techniques
When it comes to painting, technique matters. Start by cutting in around the edges of the walls, ceilings, and trim with a brush, then use a roller to fill in the larger areas. Roll the paint onto the walls in a W or M pattern, then use vertical strokes to smooth out the paint and eliminate any roller marks. Work in small sections and avoid overloading the roller with paint to prevent drips and uneven coverage.
6. Apply Multiple Thin Coats
Instead of trying to achieve full coverage with one thick coat of paint, it’s better to apply multiple thin coats for a smoother and more durable finish. Allow each coat of paint to dry completely before applying the next one, following the manufacturer’s recommended drying times. This approach helps build up the color gradually and ensures better adhesion between coats.
7. Take Your Time with Cutting In
Cutting in—the process of painting along the edges and corners of the walls—requires patience and precision. Take your time to carefully cut in around trim, baseboards, and other obstacles using a high-quality angled brush. Use steady, controlled strokes and try to maintain a consistent line along the edges. If necessary, use painter’s tape as a guide to achieve clean, straight lines.
8. Finish with Final Touches
Once you’ve completed painting the walls, take a step back and inspect the room for any missed spots or imperfections. Use a brush or small roller to touch up any areas that need additional paint, paying attention to corners, edges, and trim. Remove the painter’s tape carefully while the paint is still slightly wet to prevent peeling or chipping. Allow the paint to dry completely before reattaching hardware and moving furniture back into the room.
Conclusion
With these eight DIY interior painting tips, you can tackle your residential interior painting project with confidence and achieve professional-looking results. Remember to prepare the room properly, choose the right paint and tools, prime the surfaces, use proper painting techniques, apply multiple thin coats, take your time with cutting in, and finish with final touches. Whether you’re painting a single room or the entire house, following these tips will help you transform your space and create a fresh, new look you’ll love. If you need any help, give us a call at 704-389-2577 for a free estimate and we’ll assist you in beautifying your space!


